
NEWS
LATEST NEWS
- 01How to calibrate drone RC controller | Full Step-by-Step Guide
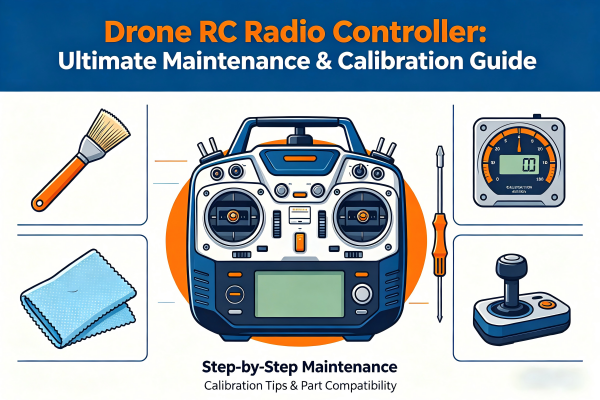
- 02Drone RC Radio Controller: Ultimate Maintenance & Calibration Guide
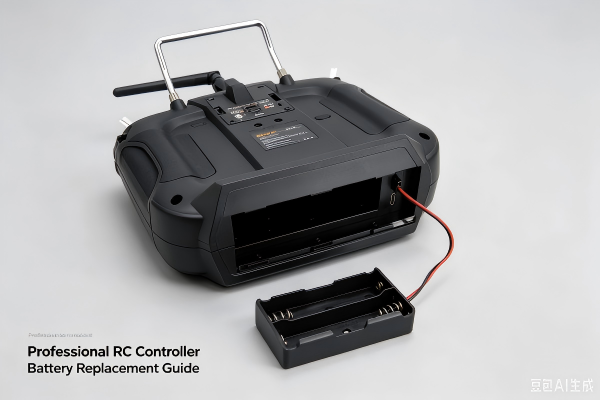
- 03Drone RC Controller Battery Replacement | Full Guide
- 04WFLY WFT06II Detailed Manual
- 05WFLY ET16S Detailed Manual
- 06WFLY ET16Pro Detailed Manual
- 07How to Clean Drone Remote Controller | Complete Step-by-Step Guide
- 08WFLY ET16 Detailed Manual
- 09WFLY ET12 Detailed Manual
- 010WFLY ET10 Detailed Manual
Address:3rd Floor,C1 Buliding,Xiangli Industry Park,Heping Haoye Road,Baoan District,Shenzhen,Guangdong,China.
Zip Code: 518103
Phone: +86 13410681808
E-mail:sale@radiocontrollers.com
NEWS
HOMENEWS
How to Clean Drone Remote Controller | Complete Step-by-Step Guide
2026-05-18 16:36:39 View:9A clean drone remote controller is essential for stable flight performance, precise control, and long-term durability. Dust, sweat, dirt, and debris are the top causes of joystick drift, unresponsive buttons, signal interference, and premature hardware failure. Whether you’re a casual flyer or a professional drone pilot, regular cleaning is the simplest way to protect your investment and ensure safe flights every time.
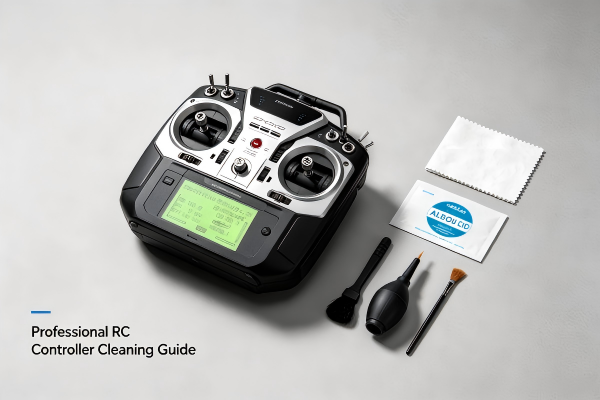
Most drone pilots overlook regular cleaning until serious problems arise. The good news is that 90% of remote controller issues can be prevented with basic, quick cleaning routines. This ultimate guide will teach you safe, professional cleaning methods to keep your drone remote controller working like brand new.
Table of Contents
1. Why You Must Clean Your Drone Remote Controller
Drone remote controllers are precision electronic devices with delicate internal components: joystick potentiometers, circuit boards, antennas, conductive button pads, and rechargeable batteries. During regular use, they accumulate sweat, fingerprints, dust, sand, and lint.
Without regular cleaning, you risk:
• Joystick drift and inaccurate control
• Sticky, unresponsive, or stuck buttons
• Weak signal and connection interruptions
• Corrosion on metal contacts and charging ports
• Shortened lifespan of your remote controller
• Unexpected failures during flight
Regular cleaning keeps your controller responsive, reliable, and fully functional for years.
2. Tools You Need for Safe Cleaning
You don’t need expensive equipment to clean your drone remote controller. Prepare these affordable, easy-to-find tools:
• Microfiber cleaning cloth (soft, lint-free)
• 75% isopropyl alcohol swabs/pads
• Soft-bristled cleaning brush (toothbrush works)
• Compressed air blower or air duster
• Cotton swabs (for small gaps and crevices)
• Protective controller case (for post-cleaning storage)
3. Critical Safety Rules Before Cleaning
Cleaning safety protects both you and your electronic device. Follow these non-negotiable rules:
• Always power off the controller completely
• Remove the battery before cleaning (if removable)
• Never pour water or liquid directly onto the controller
• Avoid harsh chemicals (bleach, window cleaner, etc.)
• Do not use sharp tools that can scratch or damage parts
• Let the controller dry fully before powering it on
4. Step-by-Step Cleaning Guide
Follow this simple routine for fast, effective daily/weekly cleaning:
1. Power off the controller and take out the battery
2. Use compressed air to blow dust out of gaps and ports
3. Wipe the entire surface with a clean microfiber cloth
4. Clean joysticks and buttons with a soft brush
5. Wipe metal contacts and charging port with alcohol swabs
6. Clean the antenna exterior and connection points
7. Let the controller air dry in a ventilated area
8. Reinstall the battery and test all functions
5. Deep Cleaning for Sticky Buttons & Joysticks
For heavy dirt, sticky buttons, or long-uncleaned controllers:
1. Disconnect power and remove the battery
2. Use cotton swabs with 75% alcohol to clean sticky areas
3. Brush around joystick bases to remove trapped dust
4. Blow compressed air into button gaps to dislodge dirt
5. Wipe away residue with a microfiber cloth
6. Let dry for at least 15 minutes before use
7. Calibrate joysticks after deep cleaning
6. Common Cleaning Mistakes to Avoid
Using too much liquid → Can seep into electronics and cause damage
Scrubbing too hard → Scratches shell and wears out components
Cleaning with power on → Risks short circuits and permanent failure
Skipping drying time → Causes corrosion and electrical issues
Using rough cloths → Leaves scratches on the controller surface
7. Cleaning Maintenance Schedule
| Cleaning Type | Frequency | Key Areas |
|---|---|---|
| Light Wipe | After every flight | Surface, joysticks, buttons |
| Basic Clean | Once a week | Dust removal, port cleaning |
| Deep Clean | Once a month | Sticky parts, crevices, contacts |
| Full Inspection | Every 3 months | Antenna, battery, internal gaps |
8. Frequently Asked Questions
Can I use water to clean my drone remote controller?
No. Never use water directly. Use 75% isopropyl alcohol for safe cleaning.
How do I clean under the joysticks?
Use compressed air and cotton swabs with alcohol—do not take apart the controller.
Why are my buttons sticky after cleaning?
Residue or moisture is still present. Dry longer and re-clean with alcohol swabs.
Do I need to calibrate after cleaning?
Yes, calibration ensures zero joystick drift and accurate control.
How do I keep my controller clean longer?
Store it in a protective case and avoid flying in dusty/sandy environments.
Cleaning your drone remote controller is quick, easy, and incredibly important. With regular care, you’ll eliminate control issues, extend the life of your equipment, and enjoy safer, more consistent flights. Make cleaning a permanent part of your drone routine!
RadioControllers offers premium drone accessories, replacement parts, and expert maintenance tips for pilots of all levels.
Recommend